Find out here the complete Dr.Fone guides to easily fix the problems on your mobile. Various iOS and Android solutions are both available on the Windows and Mac platforms. Download and try it now.
 Recover (iOS)
  Repair (iOS)
 Backup & Restore (iOS)
  Restore Social App (iOS)
  Erase (iOS)

How To: Android Data Recovery for Windows Users
Step 1. Connect Your Android Phone
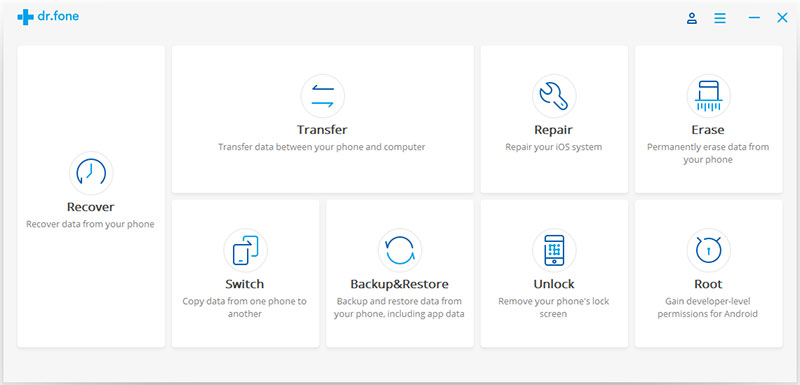
Launch Dr.Fone on your computer, and select "Recover".
Connect your Android phone to the computer using a USB cable. Please make sure you have enabled USB debugging on your Android phone. When your device is detected, you will see the screen as follows.
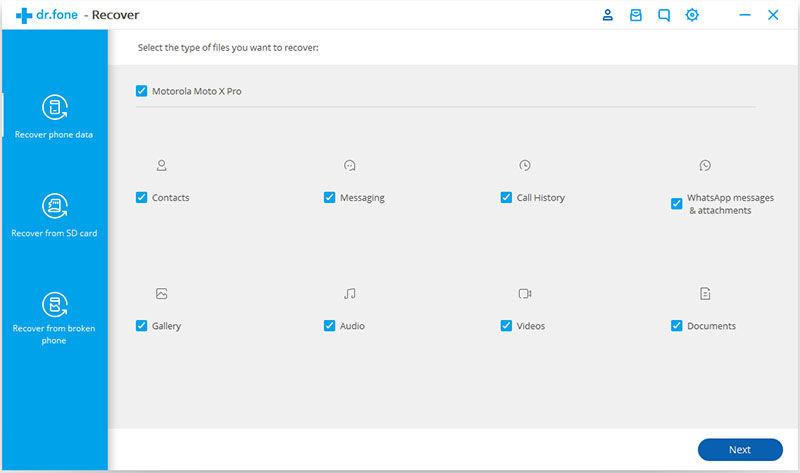
Step 2. Select file types to scan
After the phone is connected successfully, Dr.Fone for Android will display all the data types it supports to recover. By default, it has checked all the file types. You can just select the type of data that you'd like to recover.
If your phone is not rooted, Dr.Fone will offer two options: Scan for deleted files and Scan for all files. Scan for all files will take longer time, but will scan for files more thoroughly.
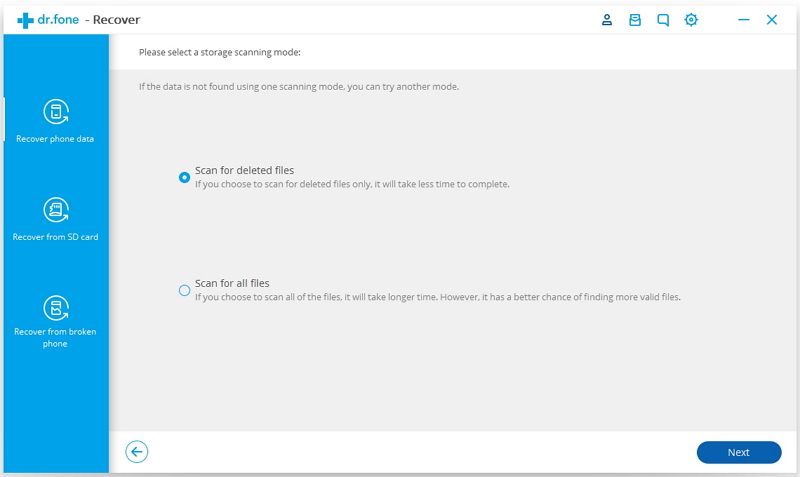
And then click "Next" to continue the data recovery process. The program will analyze your device first.
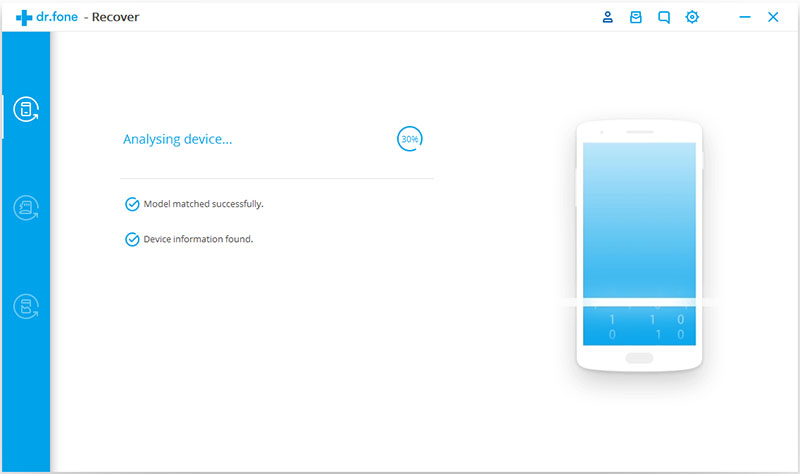
After that, it will continue scanning your Android phone to recover deleted data. This process will take a few minutes. Just be patient. Precious things are always worth waiting for.
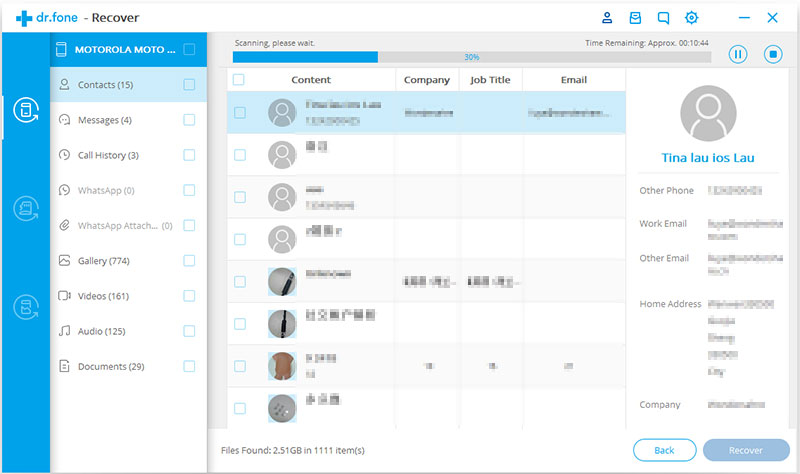
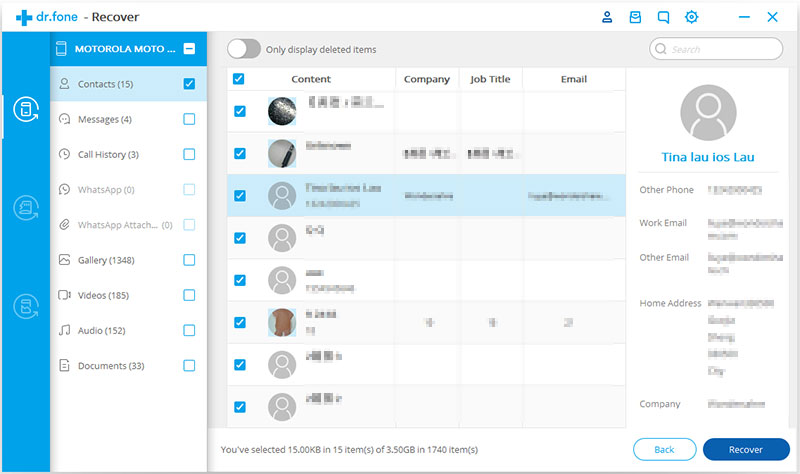
Step 3. Preview and recover deleted data on Android devices
When the scan is complete, you can preview the found data one by one. Check the items you want and click "Recover" to save them all on your computer.