Find out here the complete Dr.Fone guides to easily fix the problems on your mobile. Various iOS and Android solutions are both available on the Windows and Mac platforms. Download and try it now.
 Recover (iOS)
  Repair (iOS)
 Backup & Restore (iOS)
  Restore Social App (iOS)
  Erase (iOS)

Part 1. How to root Android phone?
Step 1. Connect Your Android Device
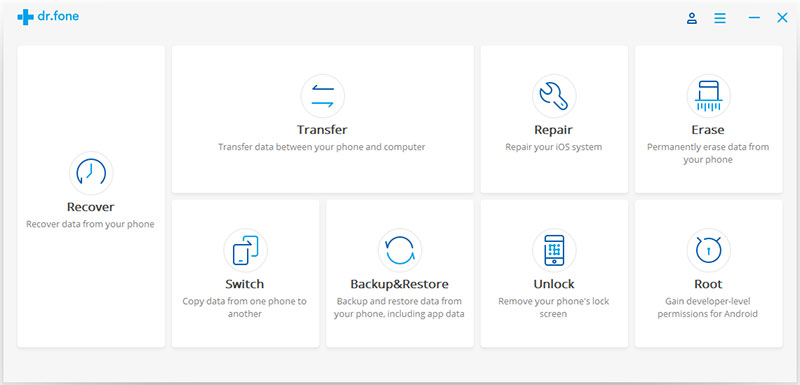
Launch Dr.Fone on your computer. Click on "Root" among all the tools.
Connect your Android phone to the computer using a USB cable. If your Android os version is 4.2.2 or above, you will get a pop-up message on your phone. Please tap on "OK" to allow USB debugging. Then Dr.Fone will automatically recignize your Android phone.
Step 2. Detect and Root Your Android Phone
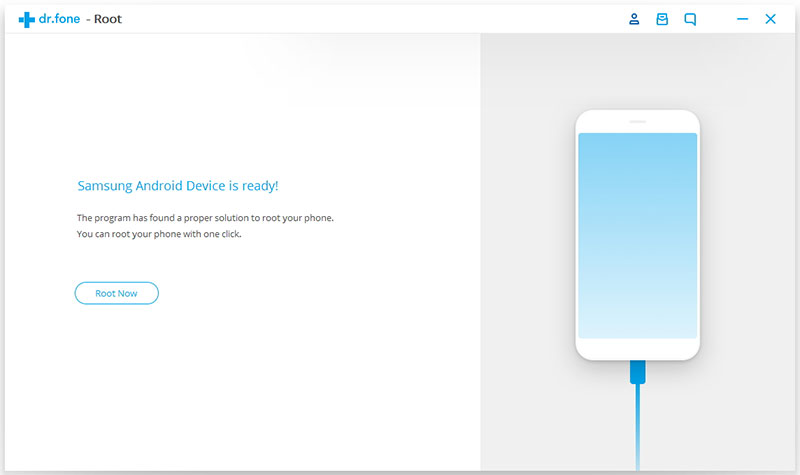
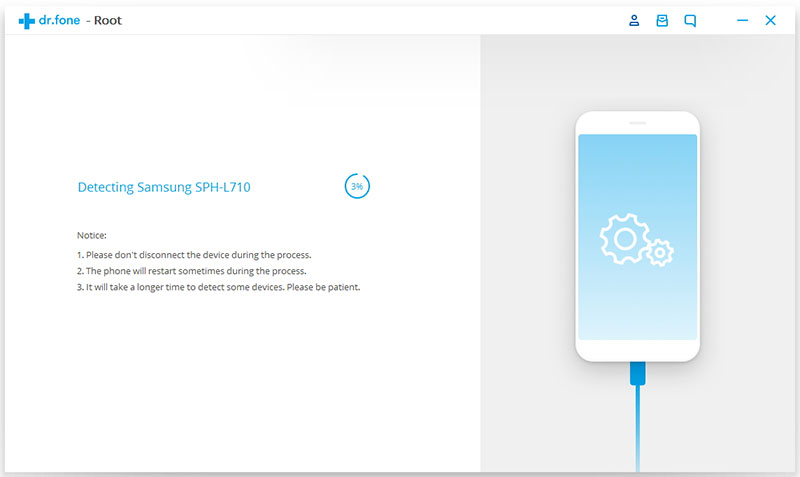
After your phone is connected, click on "Root Now" from Dr.Fone to start. The program will then start to detect your phone and find a proper way to root your phone. The detecting process will take a few minutes depending on different phone model.
Then Dr.Fone will be ready to root your Android phone. Click on "Start" to begin rooting your phone.
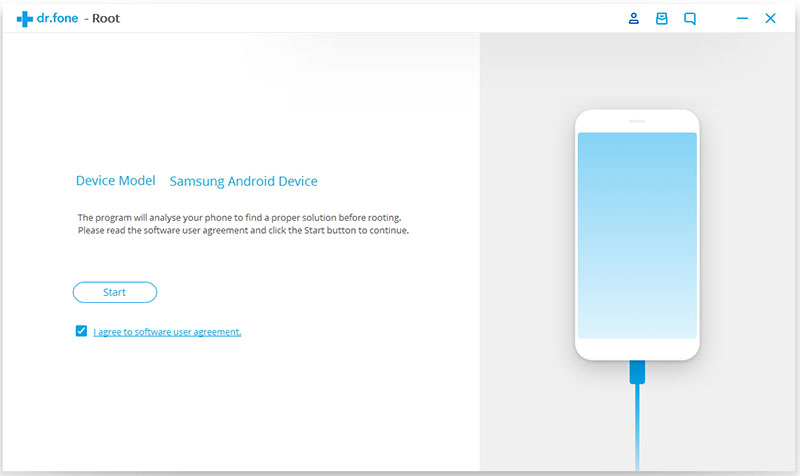
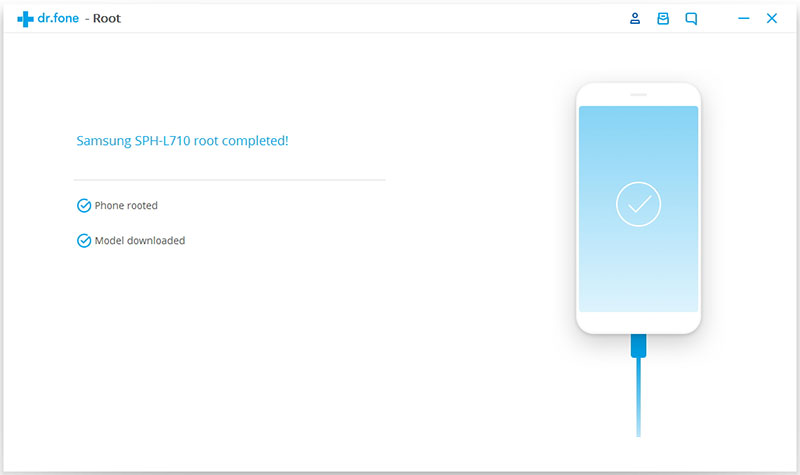
During the rooting process, the phone will pop up a message to ask whether you would like to root the phone. Tap on Confirm to continue the rooting. Just in a few minutes, you phone will be rooted successfully.
Part 2. How to unroot Android phone?
If your Android phone rooted by Dr.Fone, Dr.Fone can help you unroot it, so you won't lose the warranty whenever you need it.
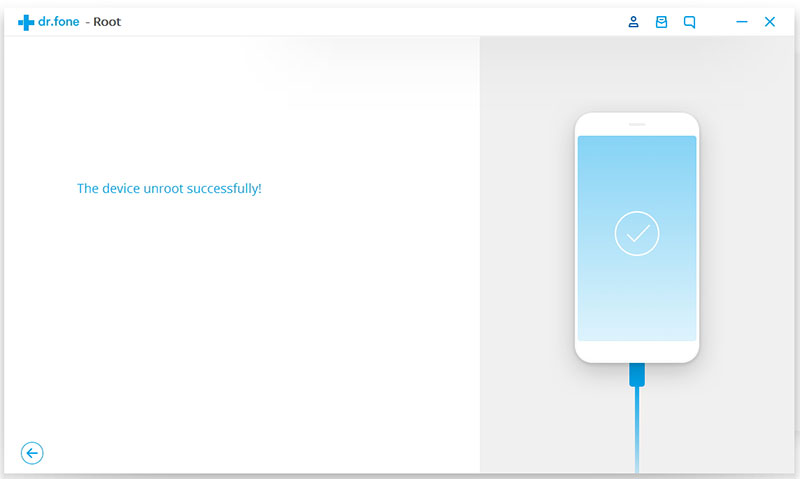
Step 1. To unroot your phone, select Root function and connect your Android phone to Dr.Fone. Then it will detect the device root status.
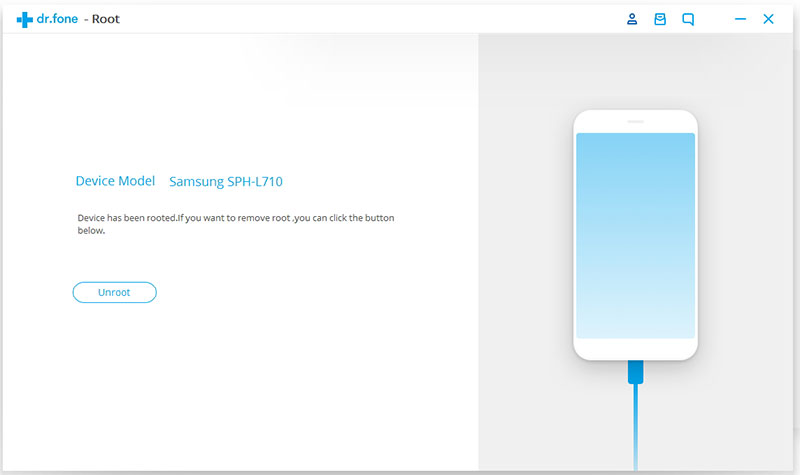
Then click on the "Unroot" button to start unroot the phone. After a few seconds, your phone will be unrooted again.